
Heat Pump Maintenance: The Complete Checklist to Keep Your System Running
By Justin Wilkinson • April 6, 2026
Most homeowners treat heat pump maintenance the same way they treat a car oil change: they know they should do it, they mean to schedule it, and then they wait until something goes wrong. By that point, a task that would have cost a couple hundred dollars for a tune-up turns into a repair bill two or three times that size, or a full replacement nobody was budgeting for.
Heat pumps are different from a traditional furnace or central AC. They run year-round, they handle both heating and cooling, and they have components that most homeowners have never heard of. That difference matters when it comes to maintenance. If you are following a maintenance routine built for a standard AC system, you are missing things that are specific to heat pumps.
This guide covers everything: what you can do yourself each month, what needs attention with each changing season, and what a qualified technician should be doing once a year.
How Heat Pumps Differ From Traditional HVAC (And Why It Changes Maintenance)
A furnace burns fuel to generate heat. A central AC system removes heat from your home. A heat pump does both, by moving heat rather than generating or discarding it. In cooling mode, it pulls heat out of your home and moves it outside. In heating mode, it reverses that process and pulls heat from outdoor air into your home. This works even when it is cold outside, because there is still usable heat energy in outdoor air down to around 5 to 10 degrees Fahrenheit.
The component that makes this reversal possible is called the reversing valve . It is a heat-pump-specific part that slides between heating and cooling modes. When it starts to fail, a heat pump will either get stuck in one mode or lose efficiency dramatically. It is one of the things a professional checks during an annual service that most generic maintenance guides never mention.
The other heat-pump-specific behavior worth understanding is the defrost cycle . When outdoor temperatures drop, ice can form on the outdoor coil. The heat pump handles this automatically by temporarily reversing into cooling mode to melt the ice, then switching back to heating. During this process you will see steam rising from the outdoor unit and the backup heat strips may kick on. A thin layer of frost on the outdoor coil during cold weather is completely normal. A thick coating of ice that covers the entire unit and does not clear after 30 to 60 minutes is a problem that needs attention.
Monthly Maintenance: What Homeowners Can Handle Themselves
The tasks below take about 15 to 20 minutes per month. None of them require any tools or technical knowledge. They are the single biggest thing you can do to protect your system between professional visits.
1. Check and Replace the Air Filter
This is the most important item on this list. A clogged air filter restricts airflow across the indoor coil, which causes the system to work harder, run longer, and wear out faster. In extreme cases it causes the coil to freeze completely. Check your filter every month and replace it when it looks gray and loaded with dust. For standard 1-inch filters that is typically every 30 to 60 days depending on your home. For thicker 4-inch media filters you may get 6 months to a year.
One thing worth knowing: do not go too restrictive on filter ratings. A MERV 13 filter in a system designed for MERV 8 can reduce airflow enough to cause real problems. Check your system documentation or ask your technician what rating is appropriate for your specific unit before upgrading to a higher-rated filter.
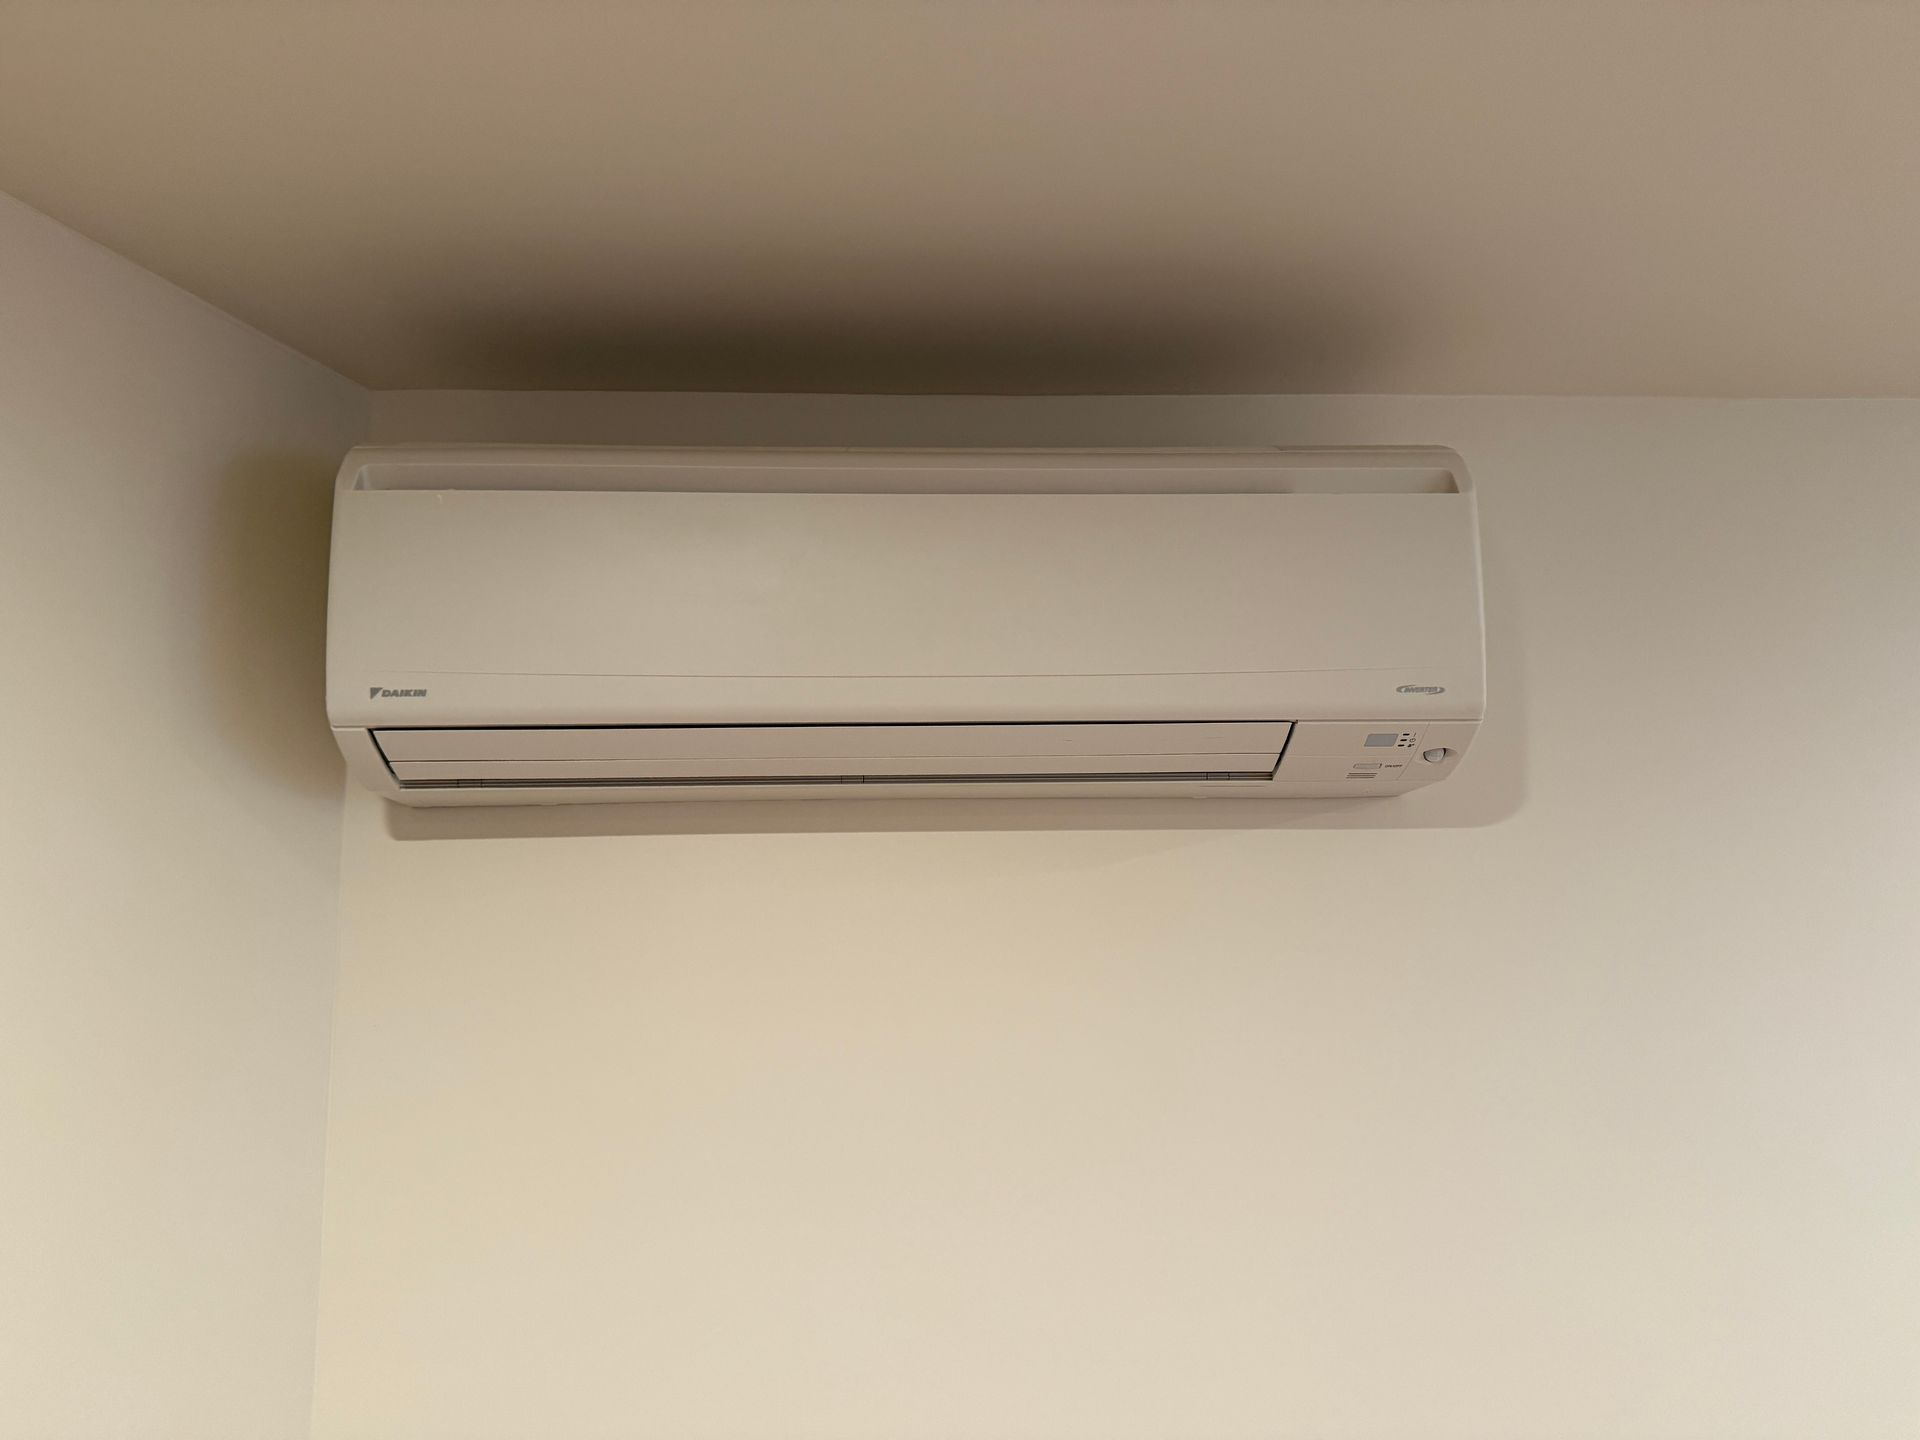
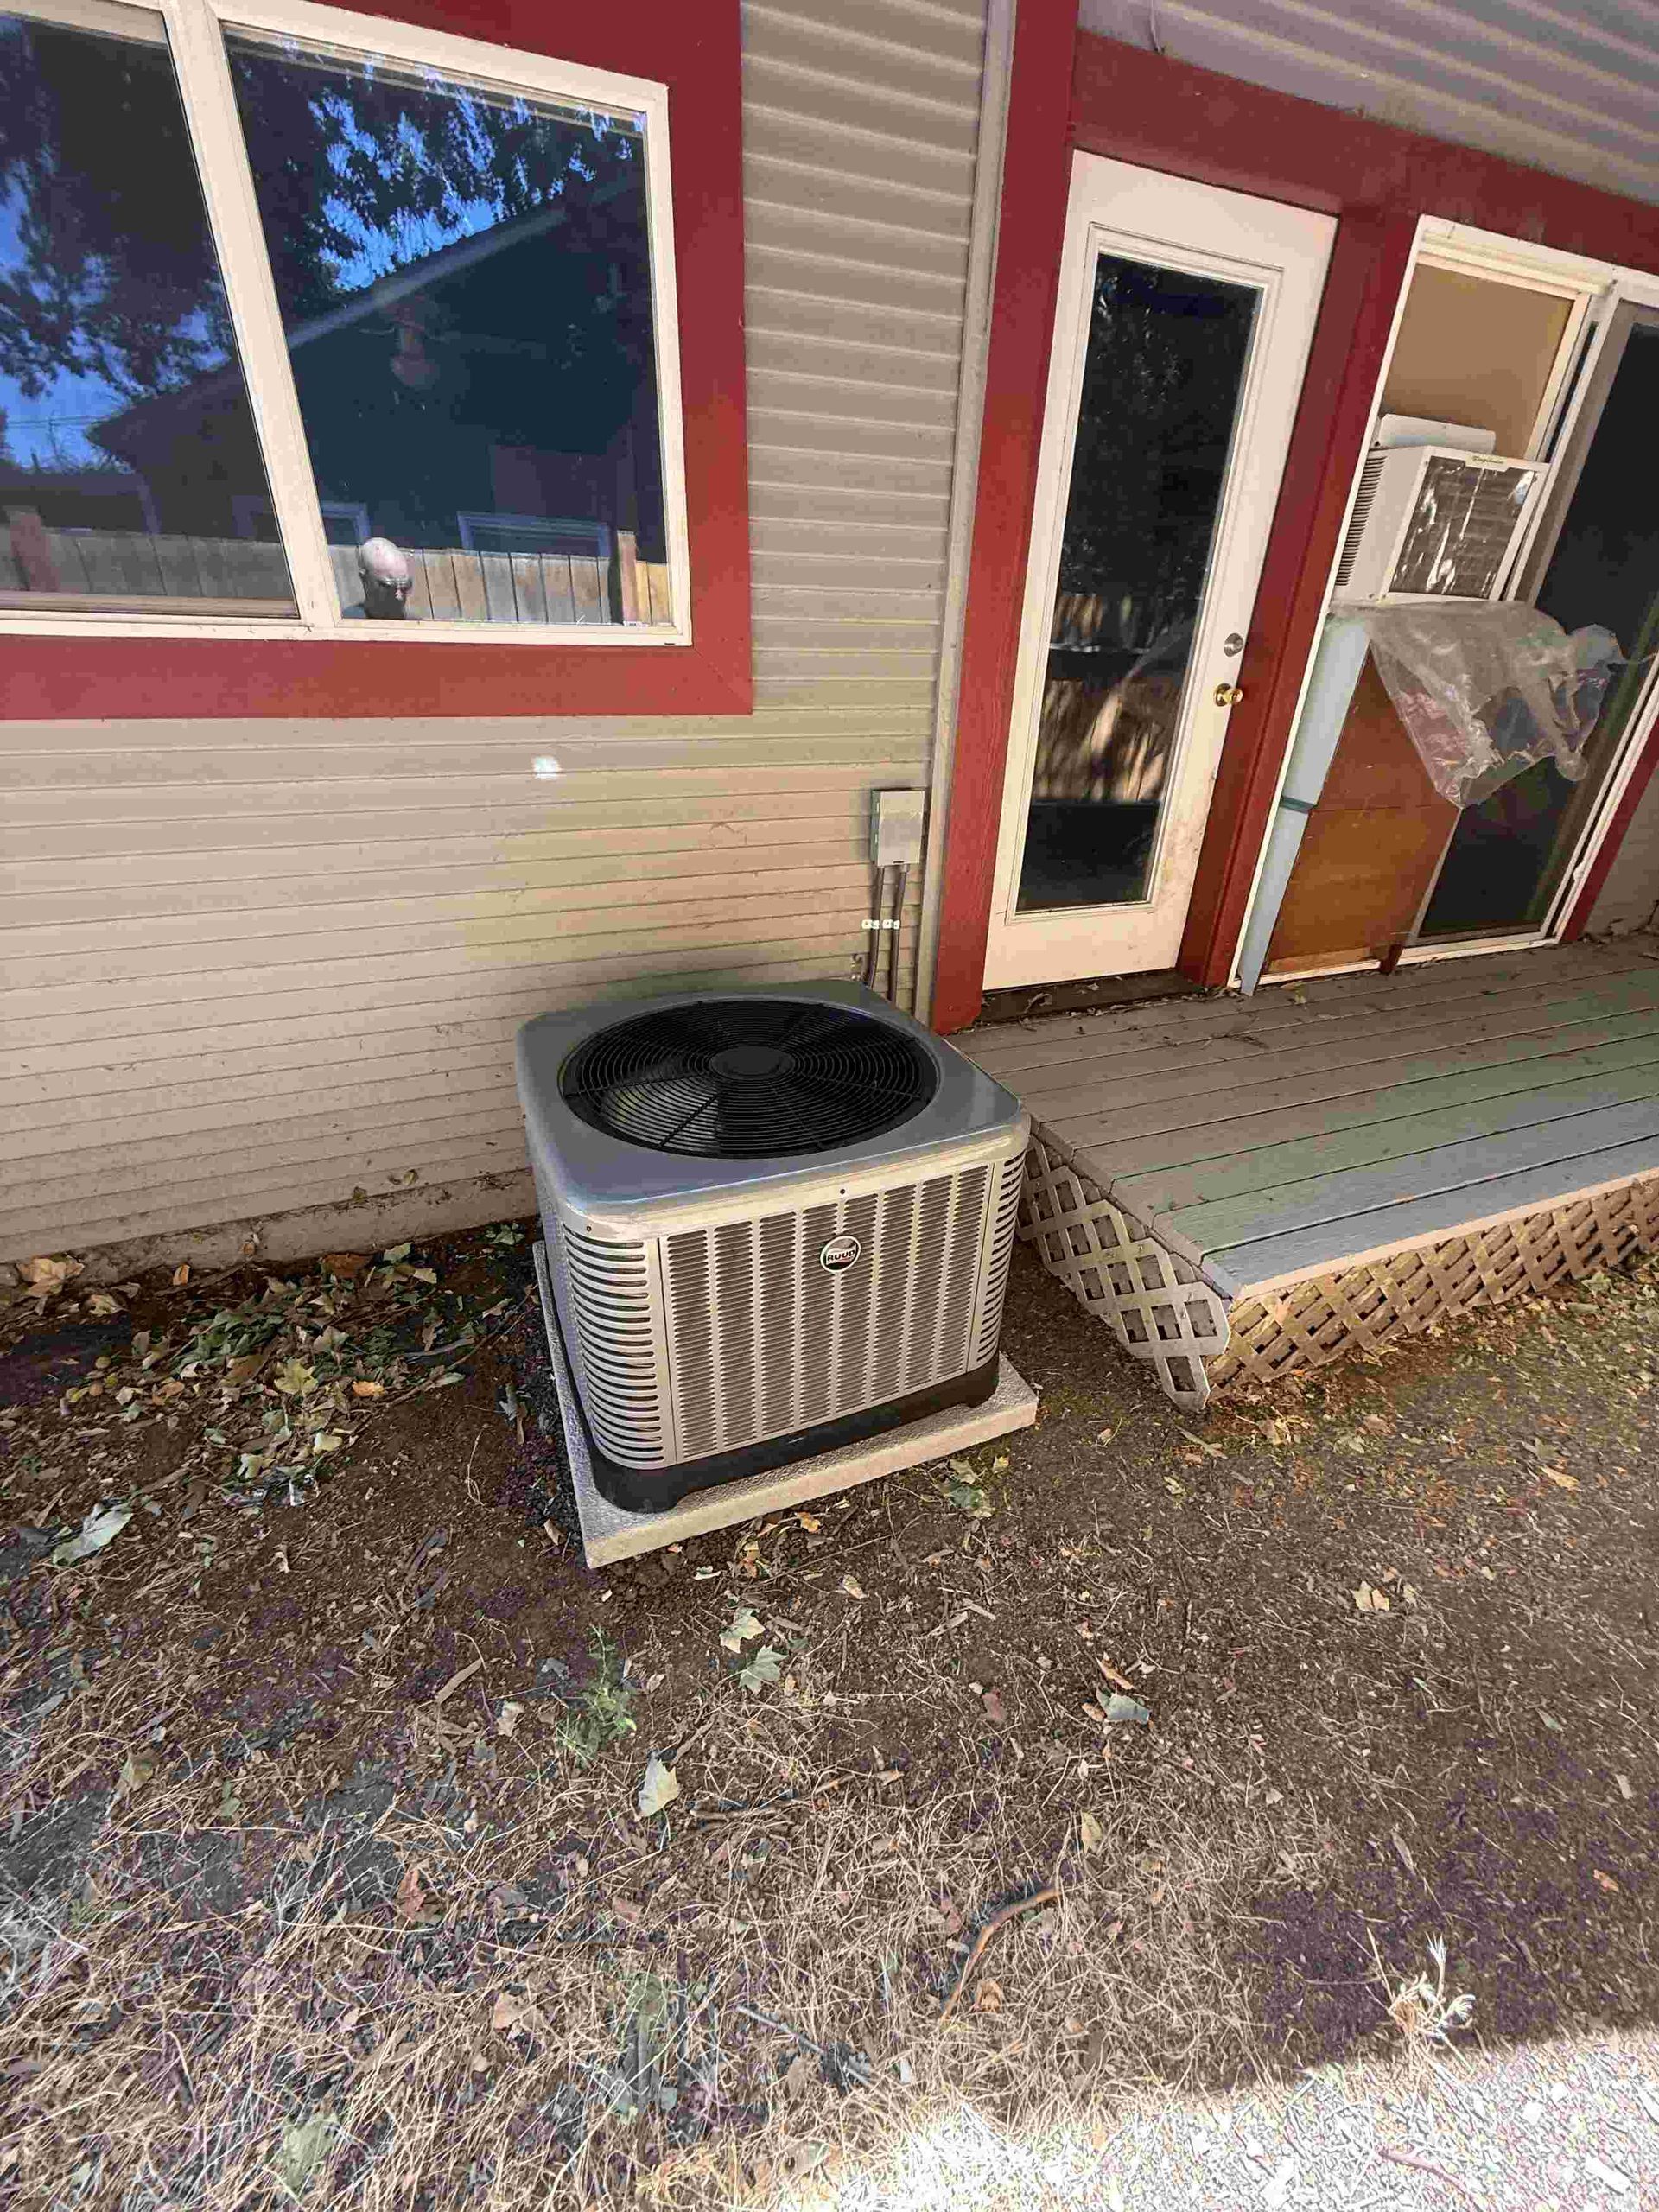
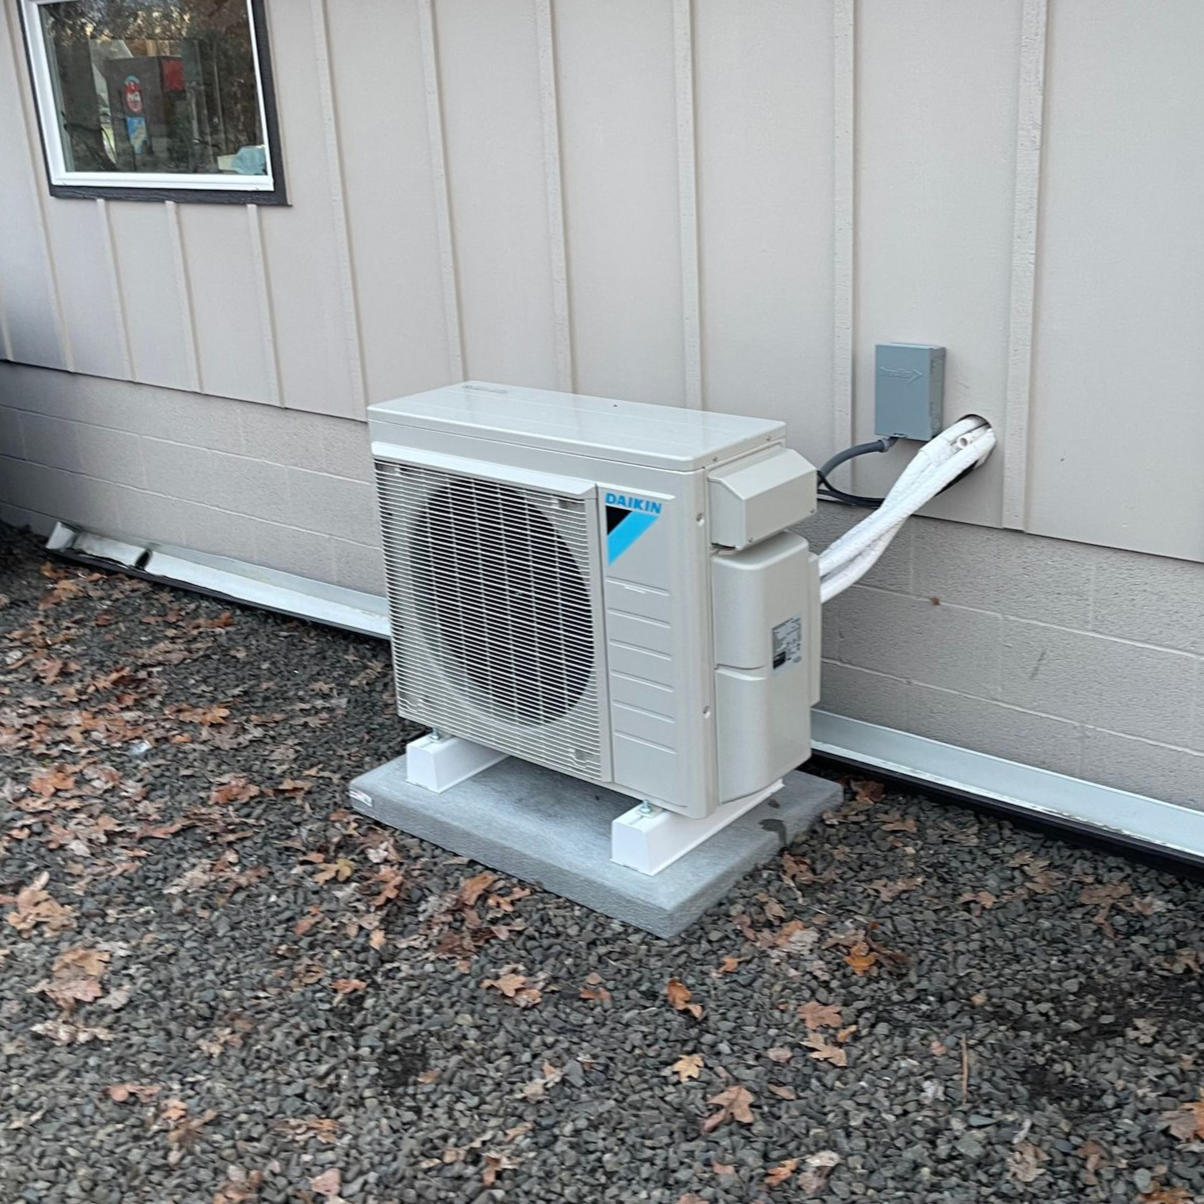
2. Inspect the Outdoor Unit
Walk around the outdoor unit and check for obvious issues. You are looking for debris sitting on top of the unit (leaves, seed pods, dirt buildup), plants or shrubs growing too close, and any visible damage to the fins on the sides of the unit. The fins are the thin metal strips that allow air to pass through and exchange heat. If they get bent or blocked, airflow is restricted and efficiency drops. Keep at least 18 to 24 inches of clearance around all sides of the unit.
In summer, watch for grass clippings getting blown into the unit by a lawn mower. In spring, check for pollen and cottonwood buildup on the coil surface. Both can accumulate fast and are worth a quick look each month.
3. Check the Condensate Drain
When the heat pump runs in cooling mode, moisture is pulled from the air and has to drain somewhere. That condensate flows through a drain line, usually a PVC pipe that exits through a wall or into a floor drain. A clogged condensate drain causes water to back up into the air handler, which can damage the unit and cause water damage to your home. Check the drain line monthly and pour a cup of diluted white vinegar into the drain pan to prevent algae buildup from forming.
4. Listen While It Runs
While the system is running, spend a minute near the air handler and near the outdoor unit and just listen. You are not listening for a specific sound. You are listening for anything that was not there last month. Grinding, squealing, rattling, clicking on startup, or a buzzing that comes and goes are all worth noting and reporting to a technician before they turn into something bigger.
Seasonal Maintenance: Before the Big Transitions
Because heat pumps run in both heating and cooling modes, there are two major seasonal transitions to prepare for: the start of cooling season in spring, and the start of heating season in fall. A little attention at each of these moments can prevent a breakdown during the worst possible time.
Spring Preparation (Before Cooling Season)
Spring is the highest-value time to do preventive maintenance on your heat pump. If something needs to be repaired, you want to find it in April, not in August when it is 95 degrees outside and every HVAC company in the region is booked two weeks out.
- Clean the outdoor coil. Over winter, dirt, pollen, and debris accumulate on the outdoor coil fins. You can rinse the coil with a garden hose on a gentle setting, spraying from the inside out through the top of the unit, not in through the sides. Do not use a pressure washer.
- Clear the area around the outdoor unit. Trim back any vegetation that grew over the winter and check that nothing was stored near the unit over the cold months.
- Test cooling mode before you need it. Turn the system to cooling and let it run for 10 to 15 minutes. The air at your registers should be noticeably cool. If the outdoor unit is running but the air is not cooling, call a technician before summer arrives.
- Inspect refrigerant lines. The refrigerant lines run between the outdoor and indoor units wrapped in foam insulation. Check that the insulation is not cracked, torn, or missing. Damaged insulation reduces efficiency and can be an early sign of a refrigerant issue.
- Update your thermostat settings. Switch to your summer schedule. If you have a programmable or smart thermostat, confirm the heating and cooling setpoints are configured correctly for the new season.
Fall Preparation (Before Heating Season)
The fall check is largely a mirror image of spring, but there are a few heating-specific things to pay attention to before temperatures drop.
- Test heating mode before you need it. Do this on the first cool day of fall, not when the temperature hits freezing. Set the thermostat to heat and verify warm air is coming from the registers within a few minutes.
- Check that backup heat works. Most heat pumps have electric resistance backup strips that engage when temperatures drop too low for the heat pump to keep up on its own. Test this by setting the thermostat several degrees above room temperature and holding it there. The backup heat should engage.
- Clear anything stored near the outdoor unit over summer. People stack items near outdoor units during cooling season without thinking about the fact that the unit needs clearance in winter too.
- Monitor the defrost cycle once cold weather arrives. Once temperatures drop below freezing, check the outdoor unit periodically. If ice is accumulating and not clearing within an hour, the defrost system may need attention.
- Inspect the air handler for moisture. Look for any water staining or rust around the indoor unit, which can indicate a slow condensate drain issue that went unnoticed over the summer.
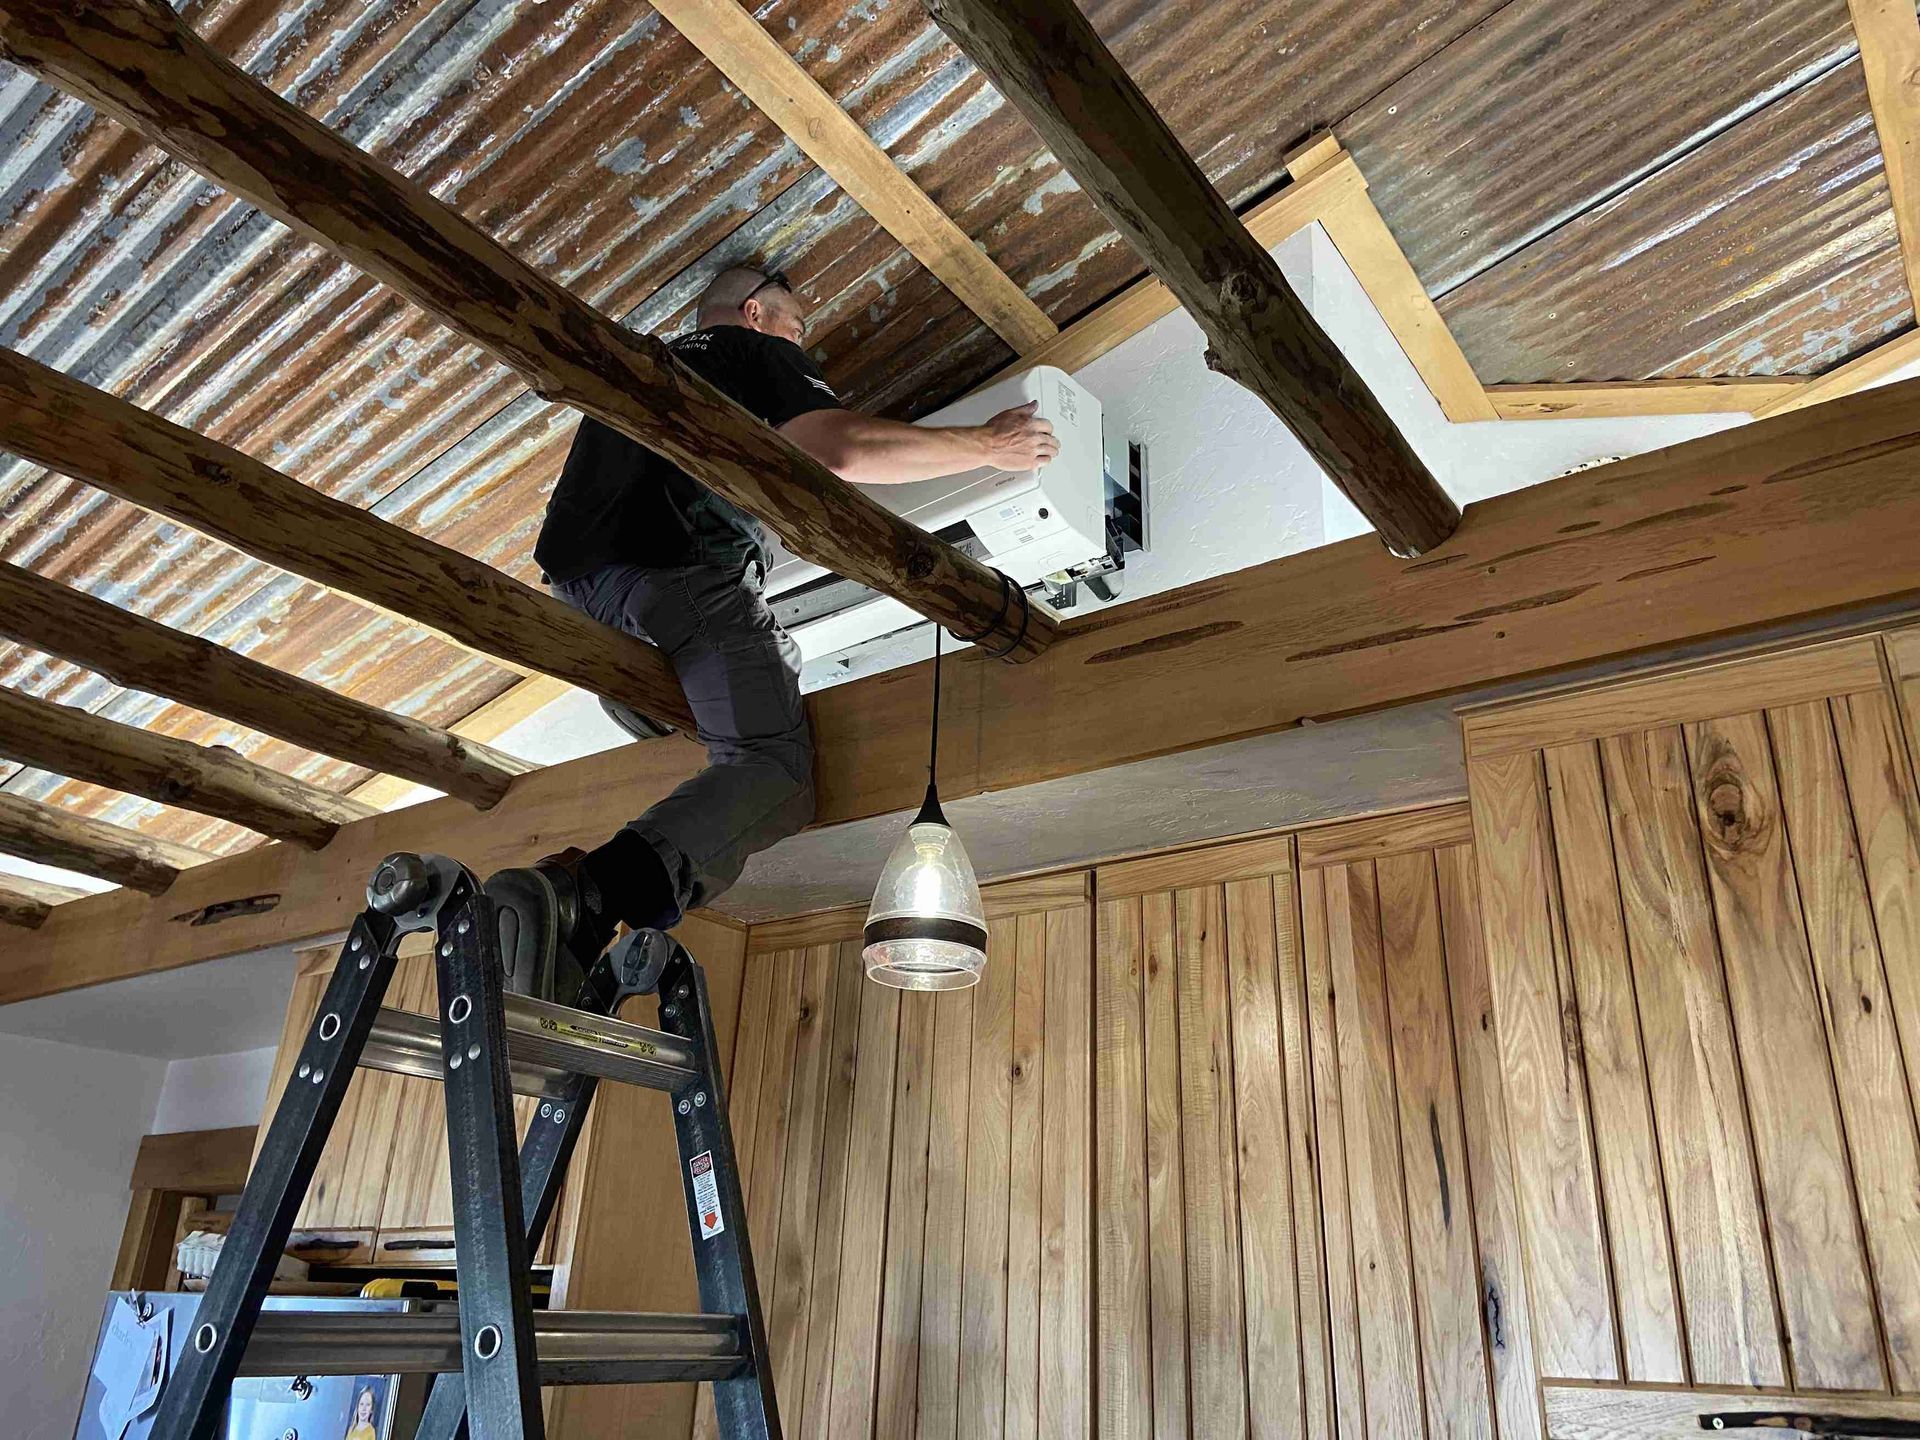
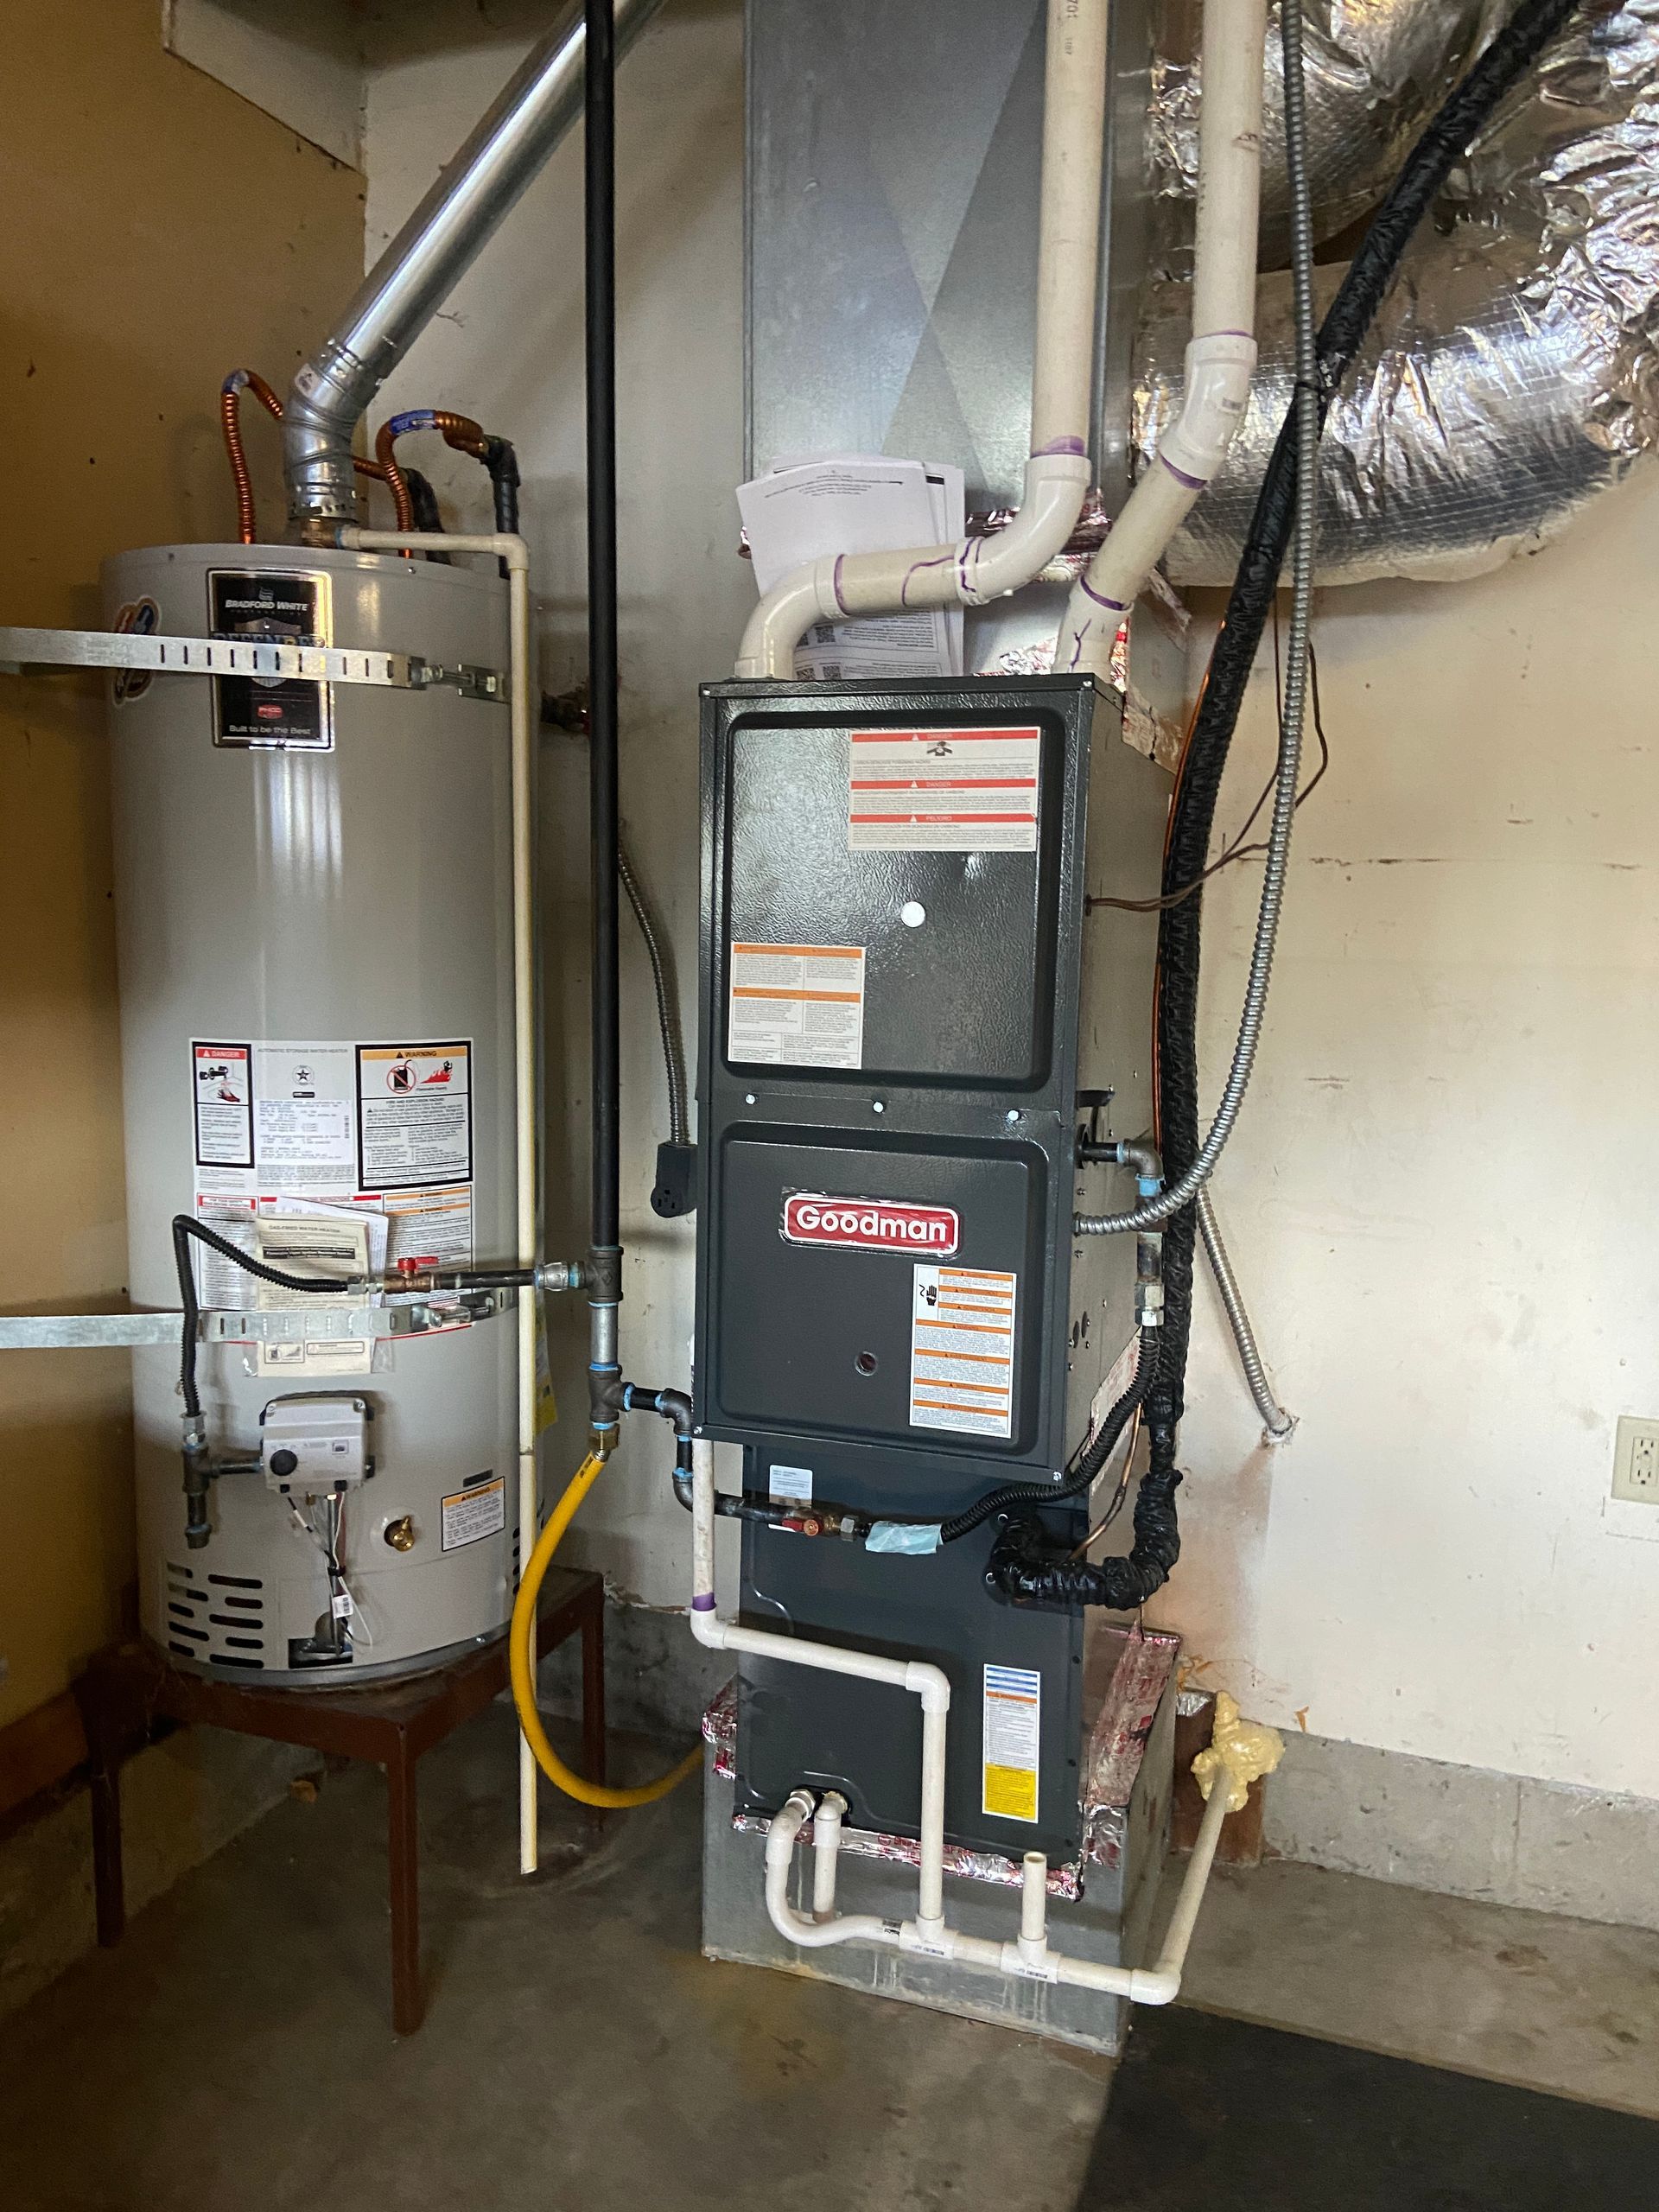
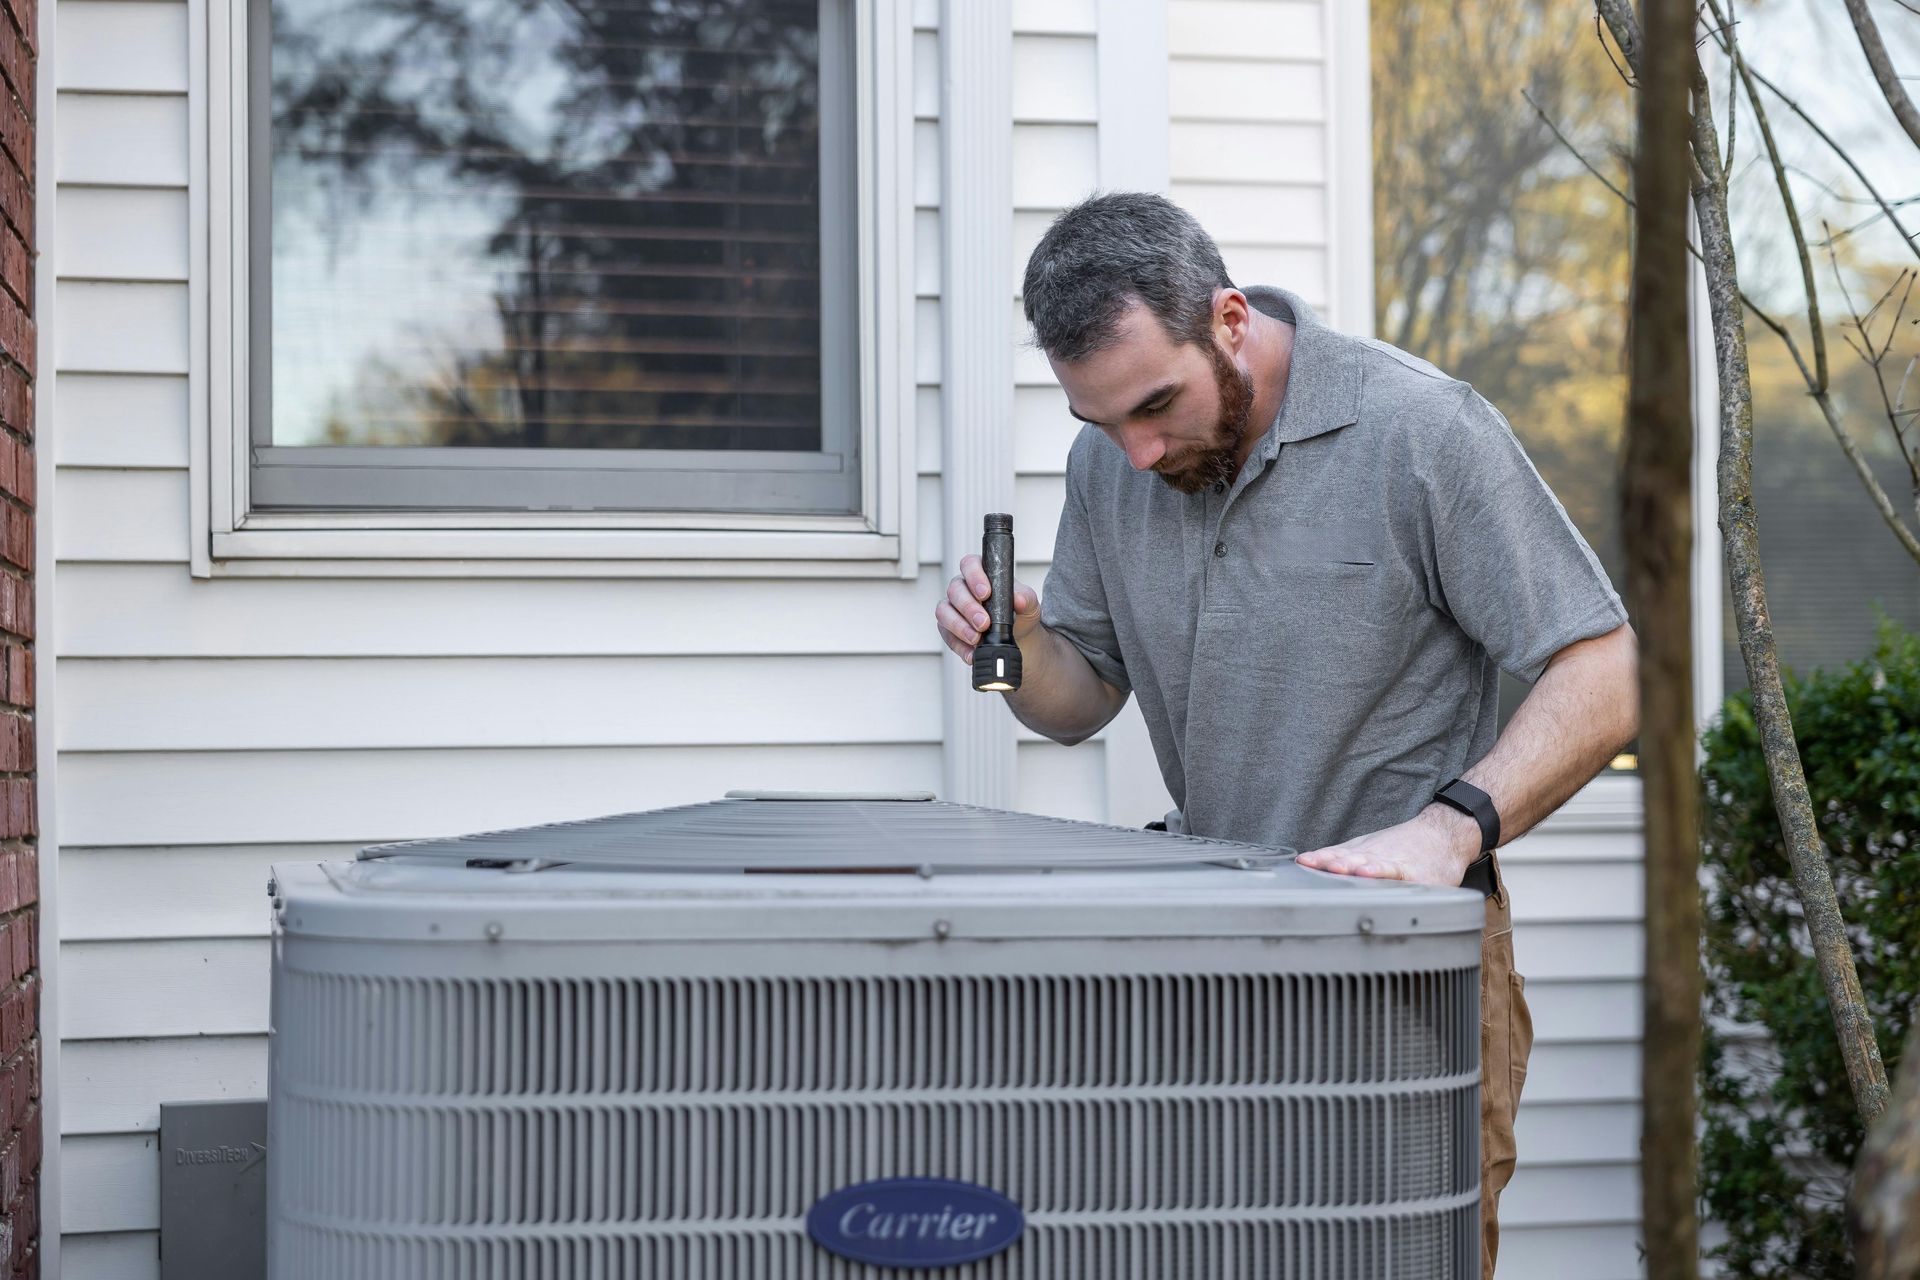
Annual Professional Maintenance: What a Technician Actually Does
One thing most heat pump maintenance guides skip over entirely is what actually happens during a professional tune-up. Homeowners are told to "schedule annual service" without any explanation of what that service includes or why it matters. Here is what a qualified technician should be doing when they come out.
- Refrigerant charge check. This is not done with a simple pressure gauge. A proper refrigerant check uses superheat and subcooling measurements to determine whether the system has the correct charge for the current conditions. Low refrigerant reduces capacity, increases wear on the compressor, and raises operating costs. Only a certified technician can legally handle refrigerants.
- Capacitor inspection and testing. Capacitors are cylindrical components that help start and run the motors in your system. They degrade over time and will eventually fail. A technician measures capacitance and replaces capacitors that are out of spec before they fail and leave you without heat or cooling. This is one of the most common things that gets caught during a proper tune-up.
- Contactor inspection. Contactors are the switches that close the circuit to start the compressor and outdoor fan motor. Over time the contact points pit and wear. A technician checks for damage and replaces contactors before they cause a hard start or a failed startup.
- Indoor coil cleaning. The evaporator coil collects dust and biological growth over time, even with regular filter changes. A technician uses a chemical coil cleaner to break down buildup that a filter cannot prevent. A dirty evaporator coil reduces efficiency and can cause the coil to freeze.
- Reversing valve inspection. The technician verifies the valve is switching cleanly between heating and cooling mode. A sticky or failing reversing valve is one of the more common reasons a heat pump works in one mode but not the other.
- Defrost board and controls check. The defrost board controls when and how long the defrost cycle runs. If it is failing, the unit either runs defrost too often (wasting energy and heating capacity) or not often enough (allowing ice to build up on the outdoor coil).
- Motor amperage checks. The technician measures amperage draw on both the indoor blower and outdoor fan motor. A motor drawing more amps than its rating is working too hard and heading toward failure.
- Full system performance test. Temperature split measurements confirm whether the system is delivering the heating or cooling capacity it is rated for.
A proper heat pump tune-up takes 60 to 90 minutes. Be cautious of any "25-point inspection" that is completed in 20 minutes. That is a visual walk-around, not a real service.
Warning Signs You Should Never Ignore
Regular maintenance reduces breakdowns significantly, but it does not eliminate them entirely. These are the symptoms that should prompt a call to a technician rather than a wait-and-see approach.
- Ice that does not clear. Some frost on the outdoor coil in cold weather is normal. A thick coating of ice that covers the unit and has not melted after 30 to 60 minutes of operation means the defrost system is not working correctly.
- Warm air in cooling mode. If your heat pump is running in cooling mode and the air at your registers is not noticeably cooler than room temperature, something is wrong. The most common causes are a refrigerant leak, a dirty indoor coil, or a failing compressor.
- Cold air in heating mode. If the system is running in heat mode and you are getting lukewarm or cool air from the registers, the heat pump may be stuck in cooling mode due to a reversing valve issue, or refrigerant levels may be low.
- Short cycling. Short cycling is when the system turns on for a few minutes and shuts off before reaching setpoint, only to turn on again shortly after. It is hard on the compressor and can indicate an oversized system, a refrigerant issue, or a failing component.
- Grinding or squealing noises. These sounds usually mean a motor bearing is worn. Left alone, a worn bearing leads to motor failure. It is almost always cheaper to catch and replace a bearing or motor before it seizes than to deal with what comes after.
- Unexplained increase in energy bills. A heat pump working harder than it should to maintain your setpoint will show up in your utility bills before it shows up as an obvious failure. If your bills are noticeably higher than the same month last year and your habits have not changed, have the system checked.

How Long Does a Well-Maintained Heat Pump Last?
A heat pump that receives regular maintenance and prompt attention when something is off should last 15 to 20 years. One that gets run without filter changes and never sees a technician will typically start having major component failures in the 10 to 12 year range.
The compressor is the most expensive single component in a heat pump. A compressor replacement can cost anywhere from $1,500 to $3,000 or more depending on the unit. Most compressor failures are accelerated by problems that could have been caught at an annual service: low refrigerant running the compressor hot for years, a starting capacitor that was out of spec, a dirty coil causing the compressor to operate at pressures higher than it was designed for.
The math on annual maintenance is straightforward. A tune-up typically costs between $100 and $200. The difference between a well-maintained system that lasts 18 years and a neglected system that needs a major repair at year 12 and full replacement at year 14 is several thousand dollars. Maintenance is not an expense. It is protection on the investment already sitting in your home.
Ready for a Professional Tune-Up, or Dealing With a Problem Right Now?
Trademark Tek serves Southern Oregon homeowners with honest, expert-level HVAC service. Justin has 20 years of experience, military-trained diagnostic skills, and a track record of solving the problems other contractors could not figure out. Whether you are due for an annual service, your heat pump is doing something that does not seem right, or you want a second opinion on a repair estimate, give us a call.
Call or text: 541-500-0663
trademarktek.com | office@trademarktek.com | CCB #238407
Serving Medford, Ashland, Central Point, Talent, Phoenix, and all of Southern Oregon.
Get a Free Quote
Submit your project info to schedule your free in-person quote today.
Latest Articles